

Connecting your printer to Wi-Fi can make printing much easier. You won't need to deal with cables, and you can print from different devices like your laptop, phone, or tablet. Here’s a simple guide to help you connect your printer to Wi-Fi.
Before we start, here are some reasons to connect your printer to Wi-Fi:
1. Convenience: Print from anywhere in your home or office.
2. Multiple Devices: Print from your computer, phone, or tablet without needing a cable.
3. Less Clutter: No more tangled cables.
4. Flexibility: Put your printer wherever you want as long as it's within Wi-Fi range.
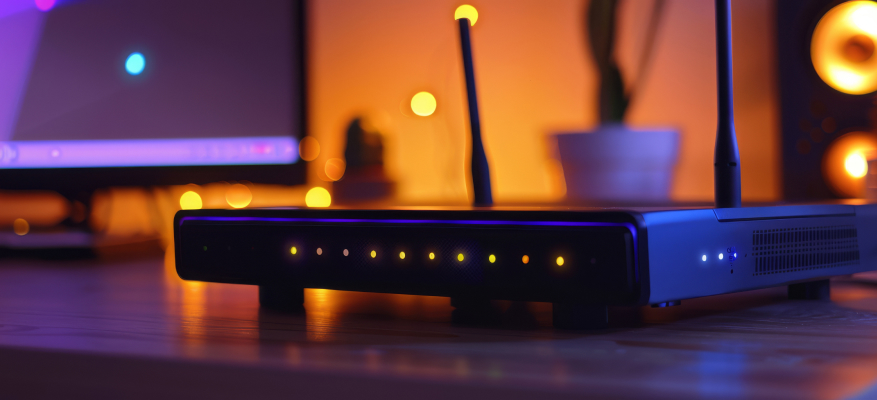
Before you begin, make sure you have:
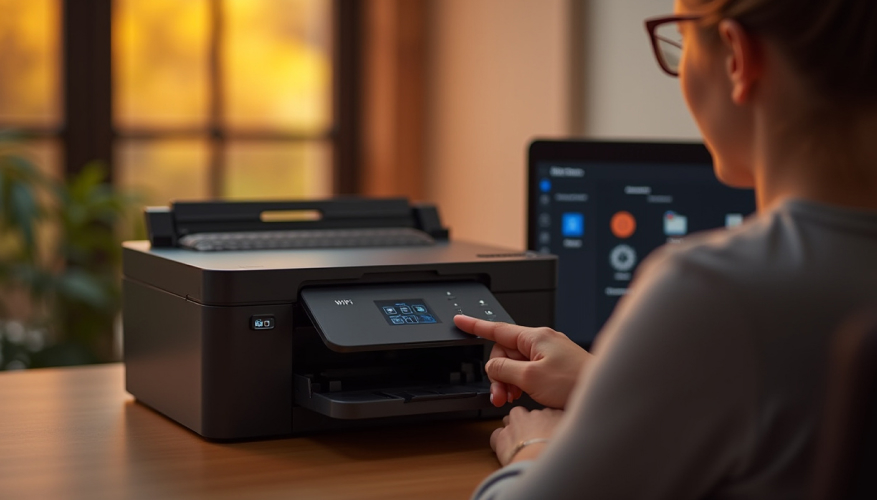
First, unbox your printer and set it up by:
Turn on your printer. Use the control panel on your printer to find the settings menu. Look for “Network” or “Wireless Settings.”
In the Network or Wireless Settings menu, select “Wi-Fi Setup Wizard.” This will help you connect to your Wi-Fi network.
Your printer will show a list of available Wi-Fi networks. Choose your Wi-Fi network (SSID) from the list.
Enter your Wi-Fi password using the printer’s on-screen keyboard. Make sure you enter it correctly since it is case-sensitive.
After entering the password, confirm your selection. The printer will connect to the Wi-Fi network, which might take a few moments. You should see a confirmation message once it’s connected.
Now, you need to install the printer software on your computer. This software includes drivers and tools to help you manage print jobs.
To make sure everything is set up correctly, try printing a document or photo. Select your Wi-Fi-connected printer from the list of available printers and print.
If your printer and router then WPS (Wi-Fi Protected Setup), you can connect them quickly:
The printer and router should connect automatically without needing a password.
Connecting your printer to Wi-Fi makes printing more convenient and flexible. By following these simple steps, you can set up your printer and enjoy wireless printing in no time.